The wind has passed, the rain has eased, and there is a damp patch spreading across the bedroom ceiling. The instinct is to get a ladder out and deal with it before the next band of weather arrives. That instinct is understandable, and it is also how a manageable repair turns into an injury or a much bigger bill. Most of the trouble after a storm comes down to a handful of repeated mistakes: working at height without the right setup, using fixings and materials that do not belong on a roof, and repairing what you can see while ignoring what you cannot.
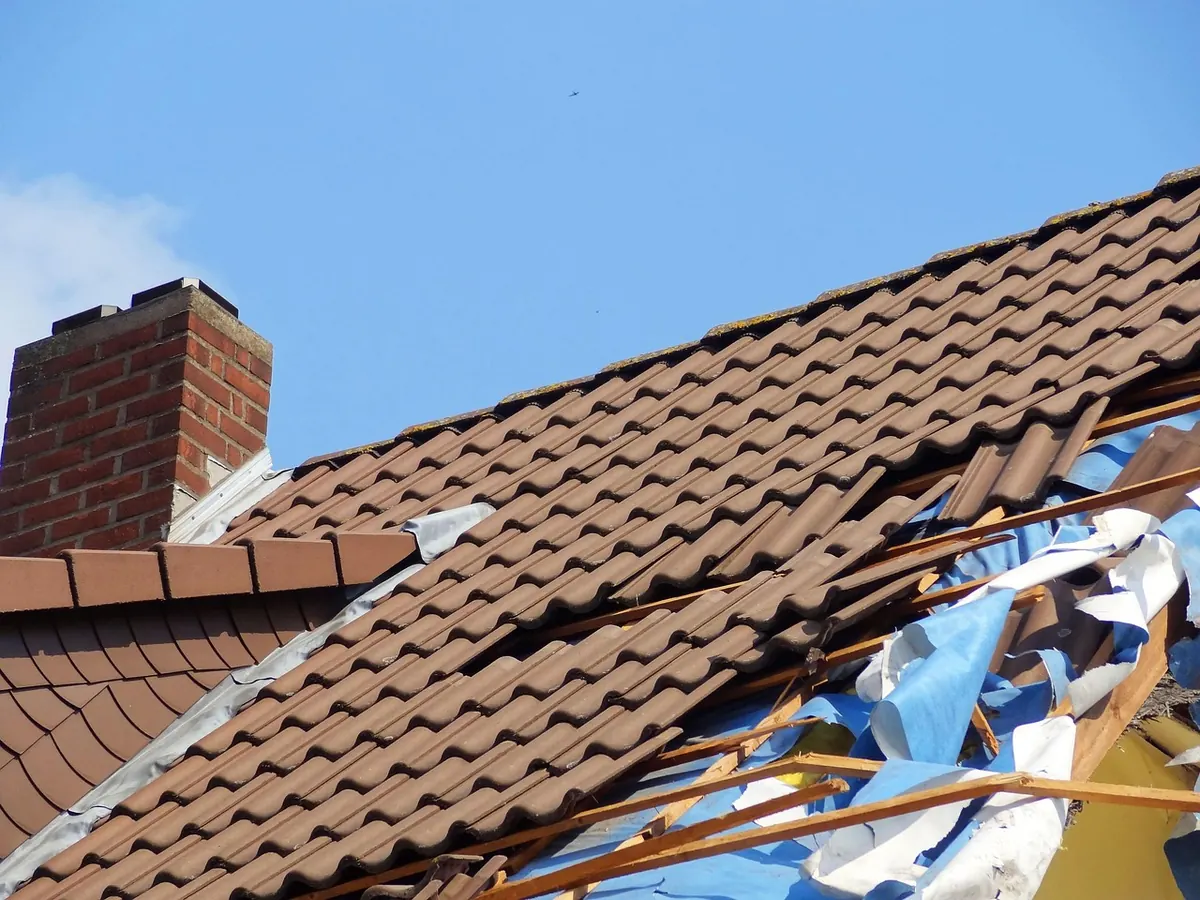
Resist the urge to climb up straight away. Walk the perimeter of the building and look up. Binoculars or a phone camera with a decent zoom will show you more than your eyes will, and you can compare both elevations rather than just the side you happen to park on. Note slipped or missing tiles, ridge tiles that have shifted out of line, flashing that has lifted, gutters hanging off their brackets, and anything lying in the garden that used to be attached to the roof.
Then go inside. Ceiling stains, a bulging patch of plasterboard, or a musty smell in the loft tells you water is getting in somewhere. Remember that water rarely drips straight down from the hole. It runs along rafters, battens and underlay before it finds a way through, so the stain on the ceiling is often a metre or two away from the actual breach. Take photographs before you move anything, wide shots and close-ups, with the date visible if your phone does that automatically.
Roofs after a storm are more fragile than they look. Wind lifts tiles and cracks the ones that stay, and wet slate or moss-covered concrete is genuinely slippery. A ladder propped against a gutter is one of the worst options available: it can crush the gutter, it can slide sideways on a wet surface, and it puts you at the exact height where a fall does the most damage.
If you are going up at all, use the right equipment and a second person on the ground. That means a roof ladder hooked over the ridge rather than a leaning ladder, a standoff to keep the ladder clear of the guttering, and a harness clipped to a proper anchor point, not a rope tied around a chimney. Never work alone, and never work in a gusting wind. Treat rooflights, old cement sheets on garage roofs and fragile felted areas as things to avoid entirely; they can give way without warning.
Working at height is regulated in the UK, and if you are not confident in your equipment or your footing, the sensible answer is to pay someone who is. A roofer's callout is cheaper than a hospital stay.
Storms expose weak work from years ago as well as fresh damage, and repairs often make things worse when the materials are wrong. Watch for these:
A missing tile is obvious. What matters is what the water did on its way through. Once the roof is safe to inspect, work through the layers rather than just the surface:
If you can, get into the loft during heavy rain and watch where the drips appear. It is uncomfortable and it settles arguments quickly.
Storm damage rarely arrives as one neat hole. Wind gets under a tile edge, lifts it, and breaks the seal along a whole run. Nailing one tile back over a failed batten, or smearing bitumen over a leaking valley, buys a few months and makes the eventual repair more expensive. The same goes for re-dressing old lead flashing that has already cracked; if the metal has failed, no amount of folding will bring it back.
Clear the debris as well. Moss, twigs and grit washed into valleys, hoppers and gullies dam the water, which then backs up under the tiles. Half the leaks reported after a storm start with a blocked outlet, not a broken roof.
Photograph everything before you move it, keep damaged materials rather than taking them to the tip, and write down dates and times as you go. Most home policies expect you to prevent further damage, so temporary covering is usually fine, but you should tell your insurer before permanent repairs begin unless they have said otherwise. Keep written quotes and receipts, and ask for the scope of work in writing rather than a verbal estimate.
Policies differ widely on timescales, excesses and what counts as storm damage, so check the wording of your own policy, or speak to your insurer or a qualified adviser, before you assume a claim will be met.
The sequence matters as much as the work itself:
Call in a professional if the roof is steep or high, if the property is listed, if the damage runs through a valley or around a chimney, or if you simply are not comfortable up there. Ask any roofer for proof of insurance, a written quote and a clear description of how they will make good afterwards. A slower, careful repair carried out in decent weather will always beat a rushed one carried out in a gale.
Photo: Jan-Mallander / Pixabay