Finding a cracked tile is one of those jobs that looks small and quietly gets expensive. Water past a broken tile does not stop at the break — it soaks into the underlay, reaches the battens and, after a wet winter or two, shows up as a brown stain on a bedroom ceiling. A single tile swapped in good time is often a fifteen-minute job. Left alone, the same break can mean rotten battens and a much larger bill.
Some broken tiles are a sensible DIY repair. Others should never be tackled from a ladder. Knowing which one you are looking at is the most useful skill in the whole job.
Start with binoculars and a phone camera with a decent zoom, standing well back from the house. Note exactly where the damage sits. A tile a couple of courses up from the gutter is usually easy to reach. One in the middle of the slope is a different proposition, and anything beside a valley, hip, ridge or chimney stack needs more care, because those areas rely on careful laps and flashings.
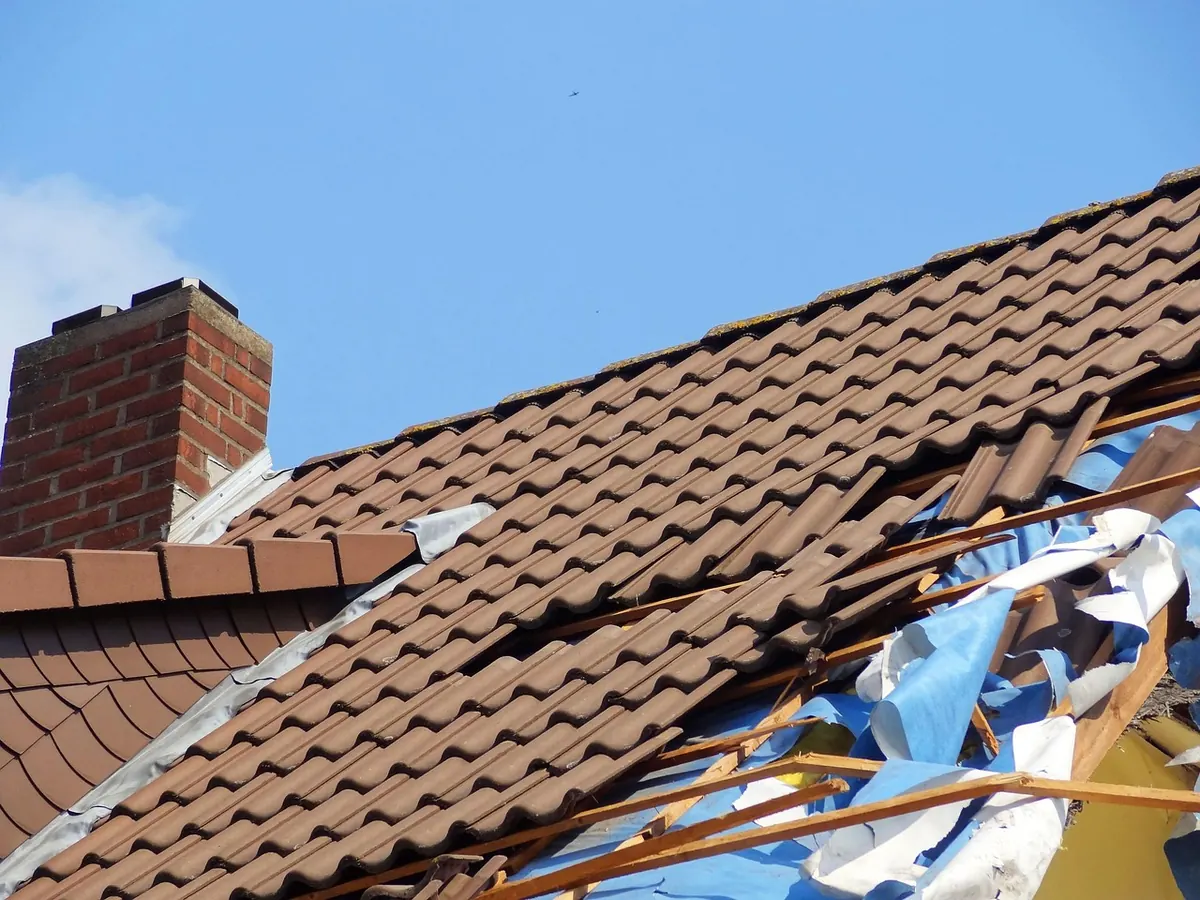
Then ask what caused it. Impact damage from a fallen branch looks nothing like frost damage, and both look different from rows of tiles that have slipped because the nails have rusted away — nail sickness, in the trade. If several tiles have moved, you do not have a single-tile repair. You have a re-fixing or re-roofing conversation.
Working at height is the serious part of this job, and in the UK it remains the biggest cause of fatal accidents in construction. Treat it that way.
Older properties need one extra check. Cement roof sheets and some slate-look products fitted before the 1990s can contain asbestos. Do not cut, snap or drill them. If you are unsure what you are looking at, stop and get advice before touching it.
Tiles are not interchangeable. Size, profile and the way each tile laps or interlocks with its neighbours all matter.
Take a photograph, and keep one whole unbroken tile as a sample if you can reach it safely. Reclaimed tiles are widely available and are usually the best match for an older roof — a new tile on a fifty-year-old roof will look bright until it weathers. Buy a few spares while you are ordering; the same tile will break again somewhere.
If the correct replacement tile is not available today, a temporary fix is better than nothing, as long as you are honest about it being temporary. A strip of self-adhesive flashing tape applied under the tile and pressed onto the underlay will hold water back for a few weeks. Silicone smeared over the top of a cracked tile will not.
For a slipped tile that is still intact, the usual fix is to re-seat it and secure it with a clip. If it has been sitting loose, check the underlay where the tile was rubbing.
Call someone in if any of the following apply:
Photo: Momentmal / Pixabay